
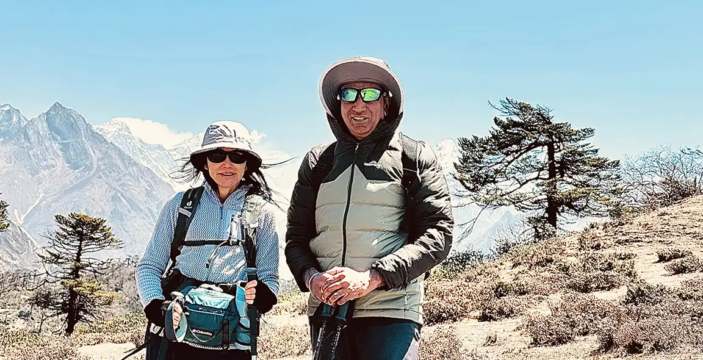
Do You Need to Be Super Fit for a Luxury Everest Base Camp Trek?
How hard is walking on a Luxury Everest Trek? Daily Hours: Expect about 5–6 hours of walking each […]
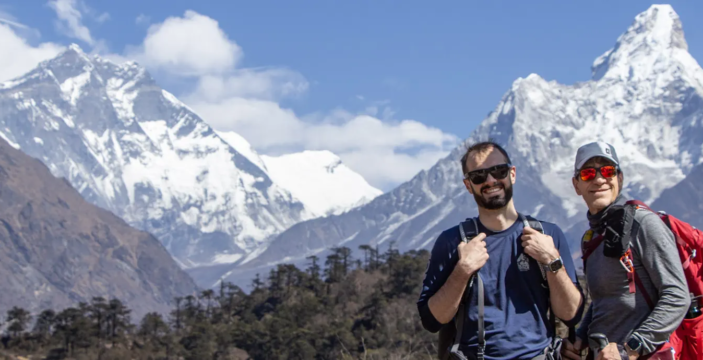
Best Time for the Luxury Everest Trek for Clear Views and Comfort
Month-by-Month Deep Dive for 2026/2027 Planning March: The Strategic Early Start March is the month of awakening. The […]

Everest Base Camp Altitude Sickness Prevention: Safer Trek Tips and Luxury Support
Why a Luxury Everest Base Camp Trek Gives More Confidence Everest Base Camp altitude sickness prevention improves when […]

Toilets on the Everest Base Camp Trek: The Real Difference
Toilets on the Everest Base Camp trek vary widely by lodge class and altitude. On a standard Everest […]
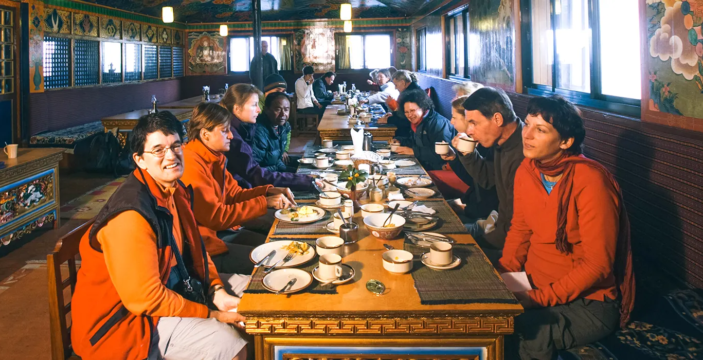
Luxury Everest Base Camp Trek Food and Hygiene: Standard vs. Premium
Standard vs. Premium Food and Dining Conditions Everest Base Camp Trek Food looks simple in standard teahouses, but […]
Luxury Everest Base Camp Trek Cost in 2026: Complete Price Breakdown, Inclusions, and Upgrades
What Changes the Price Several factors can raise or lower the Luxury Everest Base Camp Trek Cost: Group […]
The Luxury Everest Base Camp Packing List: What to Bring (And Leave Behind)
What Peregrine Treks Provides Duffel bag Trekking poles Sleeping bag rental Down jacket rental Oxygen and a medical […]
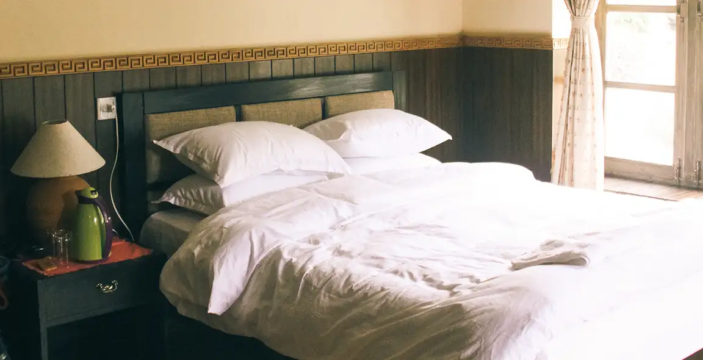
Luxury Lodges of the Everest Region: Where to Stay on a Luxury Everest Base Camp Trek
Where Luxury Lodges Exist on the Everest Trek True premium properties operate only in the lower and middle […]
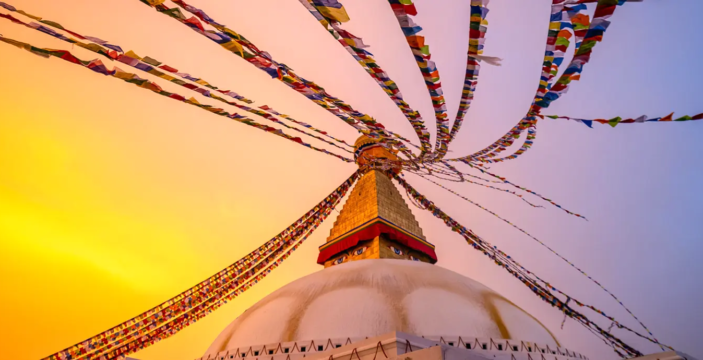
Kathmandu Valley UNESCO World Heritage Sites
The Kathmandu Valley is home to many UNESCO World Heritage Sites, ranking among the world’s most concentrated UNESCO […]